New
Console
Actor
Until now, finding the right Actor on Apify Store meant browsing, comparing, and filling out long input forms before you knew if it was the one you needed.
Apify AI fixes that. Ask in plain English from the search bar on Apify Store or in the Dashboard widget. It picks the right Actor, fills in the inputs, runs it, and returns the dataset for you.

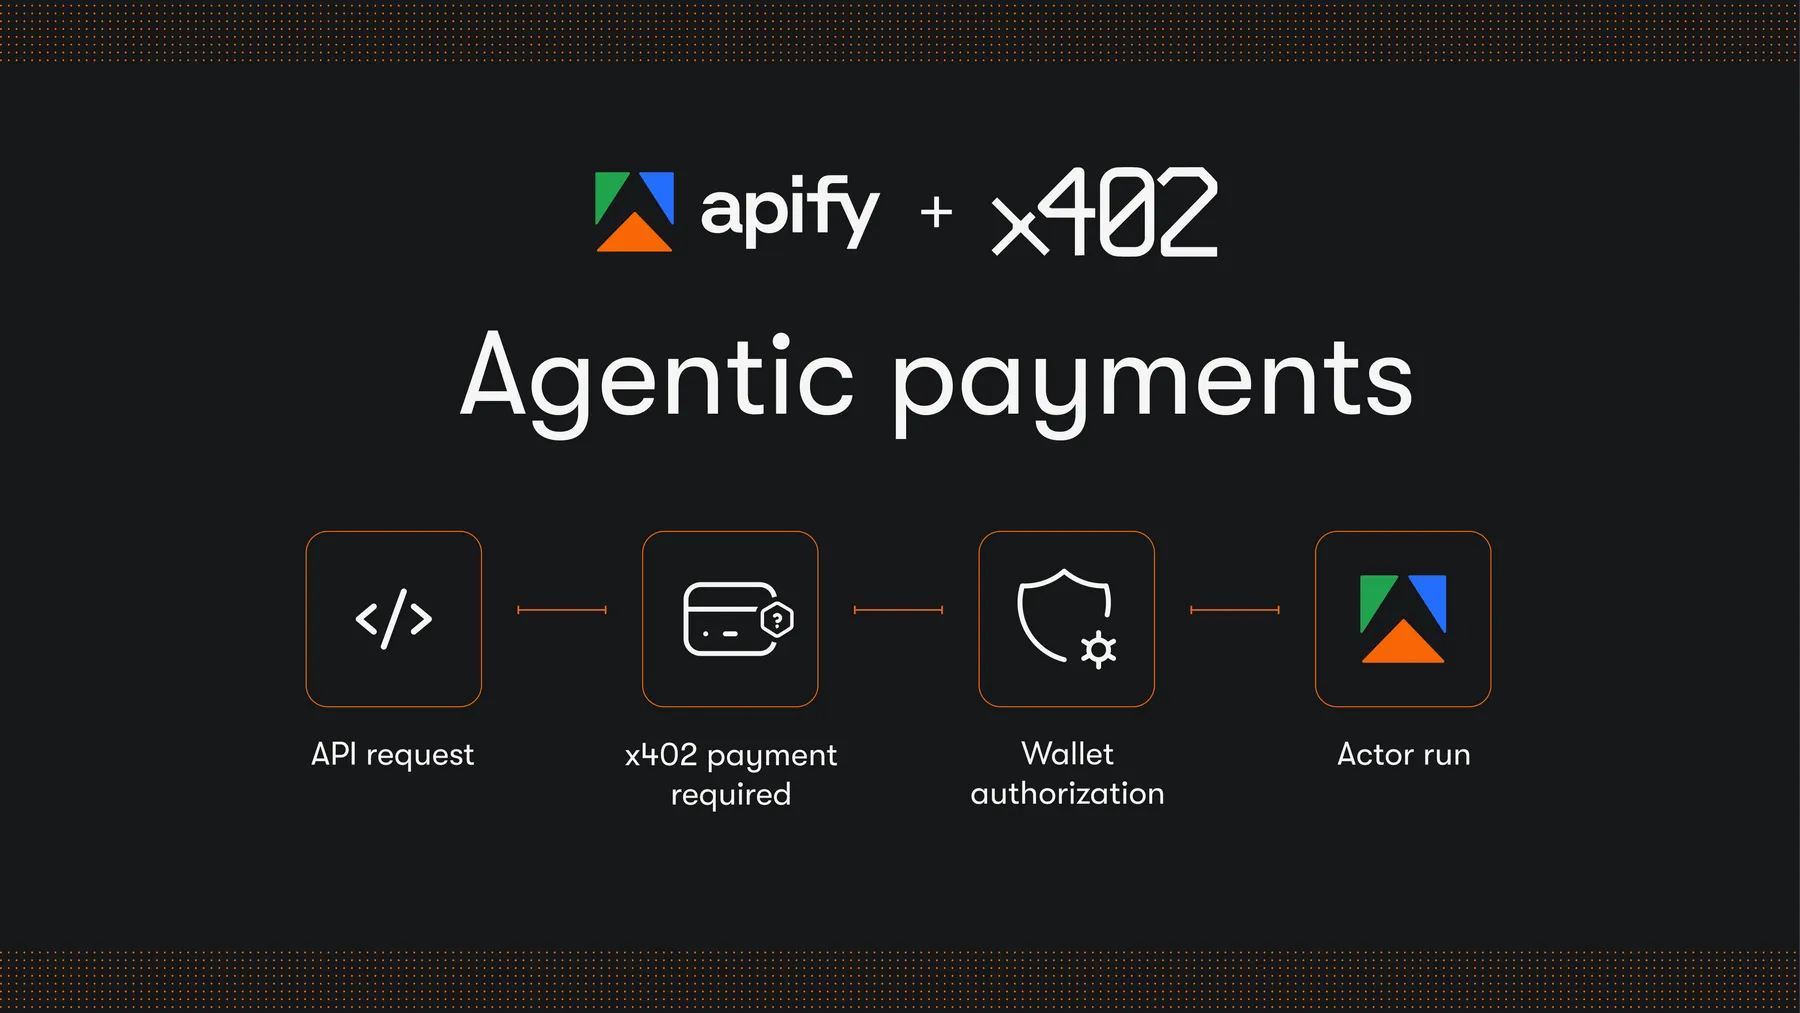 AI agents can now run and pay for eligible Apify Actors in USDC on the