Quick Start for Actor Creation
Pricing
Pay per usage
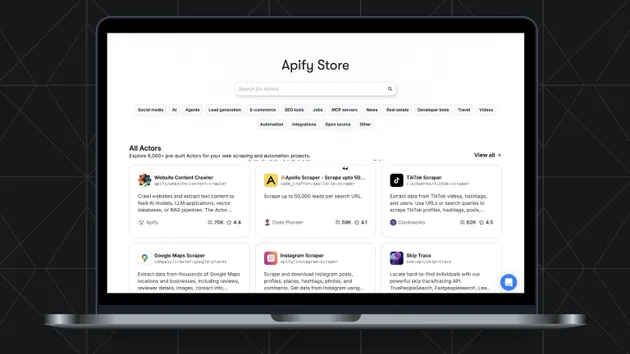
Go to Apify Store

Quick Start for Actor Creation
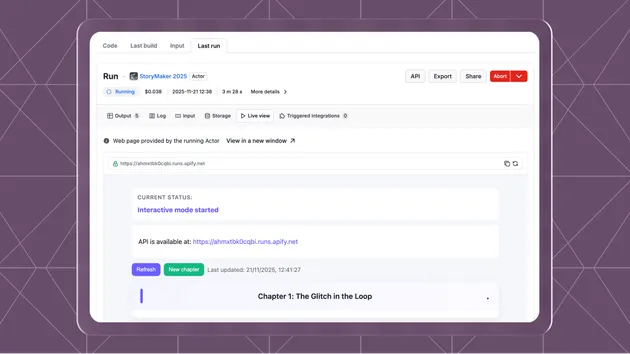
Contains a basic boilerplate of an Apify actor with Node.js source code and a custom Dockerfile. The purpose of this actor is to help you get started quickly to create your own actors.
Pricing
Pay per usage
Rating
4.0
(2)
Developer
Apify
Maintained by ApifyActor stats
4
Bookmarked
60
Total users
0
Monthly active users
2 years ago
Last modified
Categories
Share