Changelog

What's new at Apify?

New

Build and debug Actors with new Apify MCP tools

Your AI agent can now build your Actors, read their build logs, and check their runs through the Apify MCP server. It can also list your Actors and read their source files.

Why it matters

You can build and debug Actors where you code, without switching to Apify Console.

How it works

  1. Select the tools: The new tools aren't in the default tool set. List them in your server URL along with the defaults, add the URL to your MCP client, and approve access when Apify asks you to sign in.
  2. Find the Actor: The agent lists your Actors and reads the source files of the one you're working on.
  3. Build and run: The agent builds the Actor, checks the build, and runs it.
  4. Debug: When a build or run fails, the agent reads the build or run log to find the cause.

For anything without its own tool, the agent can look up and read data through the Apify API with tools in the api category: apify-api-search, apify-api-details, and apify-api-read.

Get started

Set up your client in the MCP configurator .

Patrik Braborec

Product Manager


New

Console

Actor

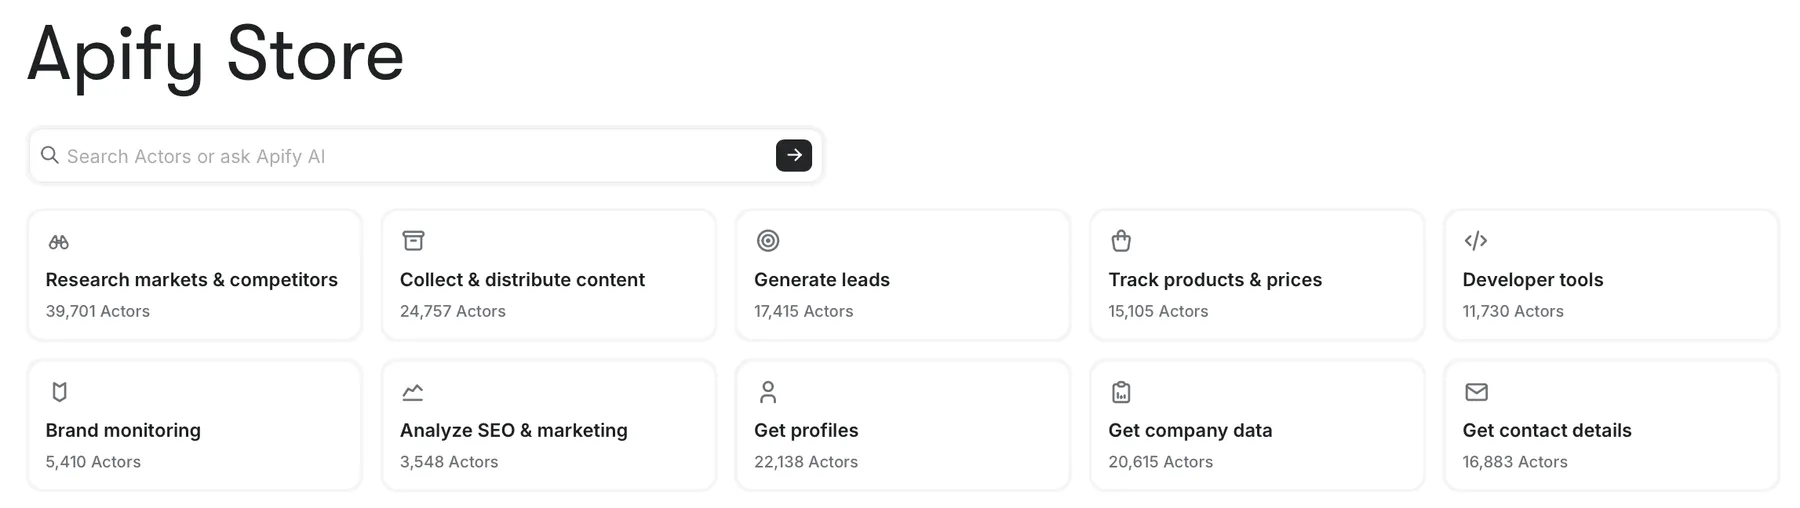
Apify Store category tiles, including Generate leads, Track products & prices, and Brand monitoring, with Actor counts.

Actors are now grouped by use case, including Generate leads, Track products & prices, and Brand monitoring. Filter by industry, output type, target site, or Actor type, such as MCP server or open source. Apify assigns the categories. Publishers have nothing to update. Read how the categories work .

Less scrolling through thousands of Actors. Browse Store categories .

Marek Mouček

Product Manager


New

Console

Actor

actor-with-git-repo

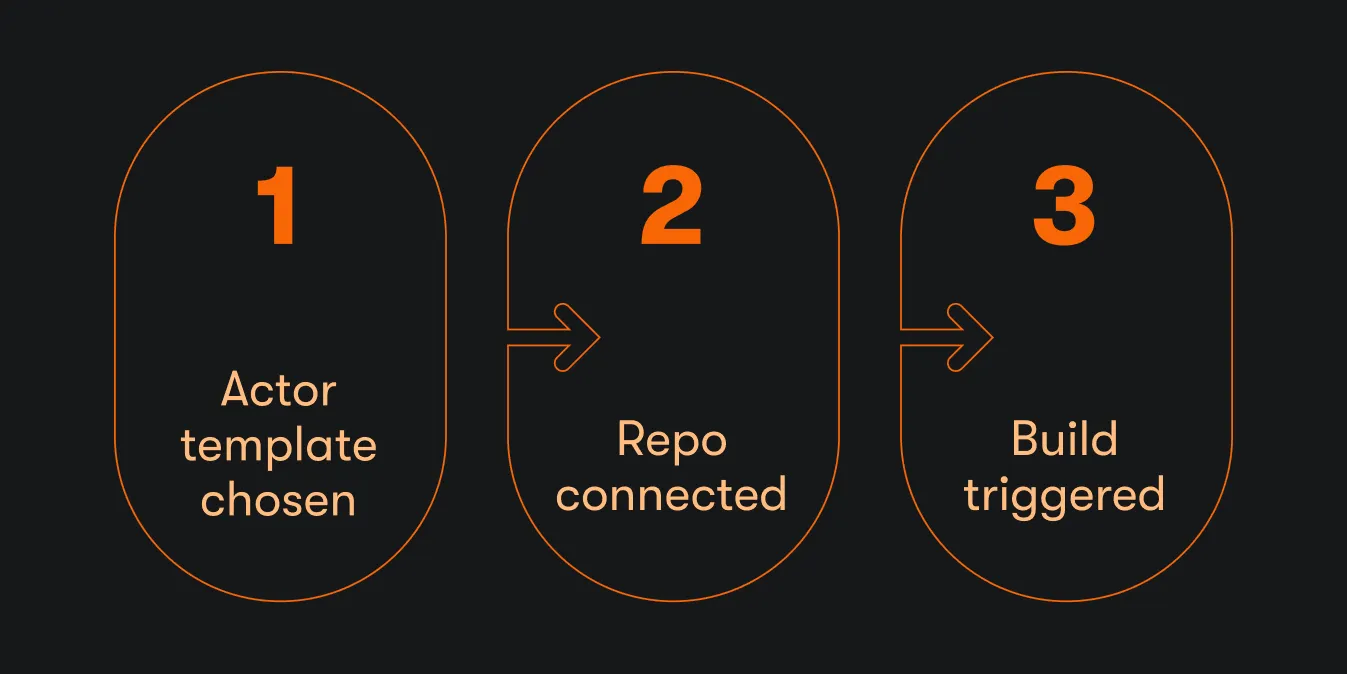
When you create a new Actor in Apify Console or with the Apify CLI, you can now pick GitHub, GitLab, or Bitbucket, and Apify sets up the whole Git workflow for you.

Why it matters

  • Builds on your first push. The build pipeline is configured for you. You push a commit, and Apify builds the Actor.
  • Your own repository from day one. From the start, you get pull requests, reviews, CI, and everything else you already do with Git.
  • No manual wiring. The old flow meant creating the repository yourself, adding the template code, and pasting the Git URL into the Actor's Source tab. Private repositories also needed the SSH URL and a deployment key. All of that now happens automatically.
  • One flow in Apify Console and the Apify CLI. Whether you start in the browser or the terminal, you end up in the same place: code in your repo, builds running on push.

How it works

  • In Apify Console, click Develop new. The flow walks you through creating an Actor:

    • What do you want to build? A web scraper, an AI agent, an API and data pipeline, or browser automation.
    • Which language do you prefer? TypeScript, JavaScript, or Python.
    • Here's your best match. Templates matched to your answers, so you start from working code instead of browsing a template gallery.
    • Where do you want to host your code? This is the new part.
  • Pick Git and choose GitHub, GitLab, or Bitbucket. You authorize the provider through OAuth, select the account or organization the repository should live under, and Apify does the rest: creates the repository, pushes the Actor template code, and configures the build. The new repository is private. You can make it public later in your provider's settings.

  • The apify create command in the Apify CLI walks you through the same choices and gives the same result: a repository under your account with the template code pushed and builds configured.

  • If you don't want Git, Create without Git is still there: Clone locally or Host on Apify.

Learn more

The new feature is live for everyone, on every plan. Open actor.new , and see for yourself. Or get the latest version of the Apify CLI and run apify create in your terminal. Read more  about the new flow in the blog post.

Patrik Braborec

Product Manager


New

Console

Actor

Apify AI is live

Until now, finding the right Actor on Apify Store meant browsing, comparing, and filling out long input forms before you knew if it was the one you needed.

Apify AI fixes that. Ask in plain English from the search bar on Apify Store or in the Dashboard widget. It picks the right Actor, fills in the inputs, runs it, and returns the dataset for you.

Read more 

Marek Mouček

Product Manager


New

Actor

API

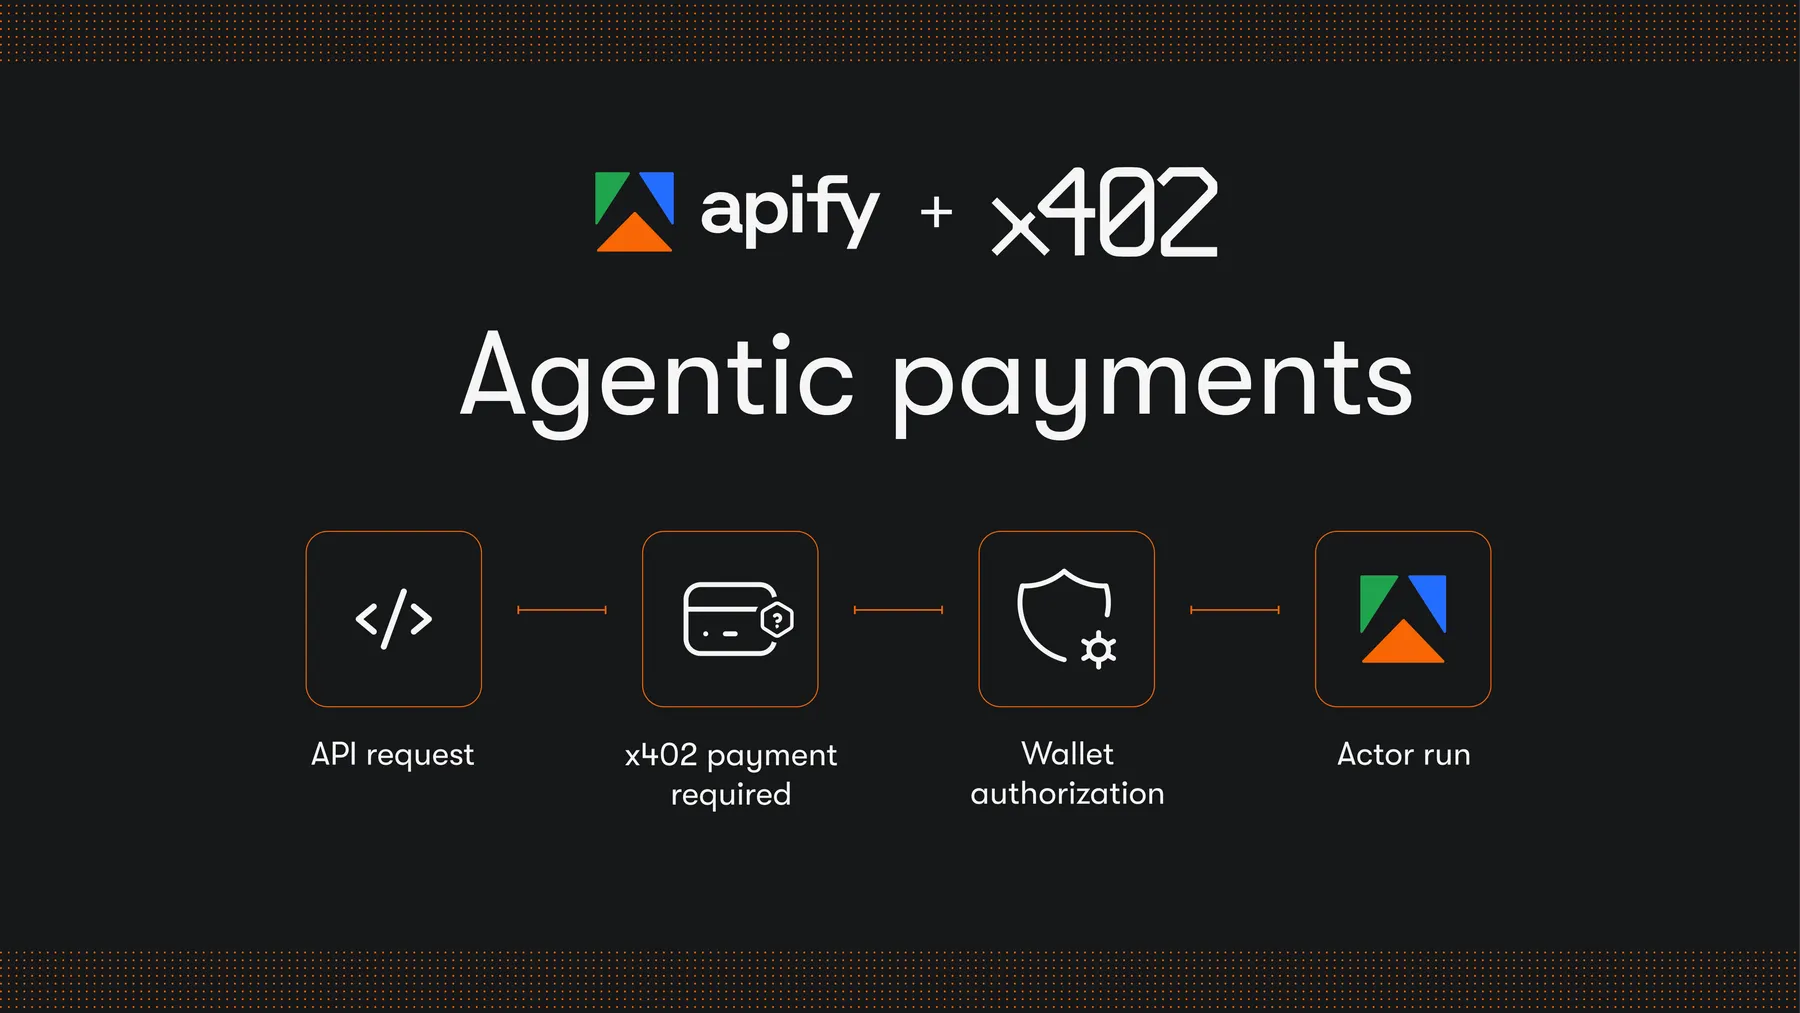
Pay for Apify Actors with x402 AI agents can now run and pay for eligible Apify Actors in USDC on the Base  network. No Apify account, billing, or API key required. Payments use the open x402 protocol  and settle at the time of request, over both Apify MCP server and the Apify API.

The fastest and easiest way is to use Coinbase Agentic Wallet CLI :

npx awal
npx skills add coinbase/agentic-wallet-skills

To get started, give this skill to your agent: apify.it/x402-awal.

If you're building Actors, you can review the eligibility criteria  to make sure yours can accept agentic payments. For more information, see the docs  and blog post .

Roman Roštár

Product Manager


We're making the web more programmable.