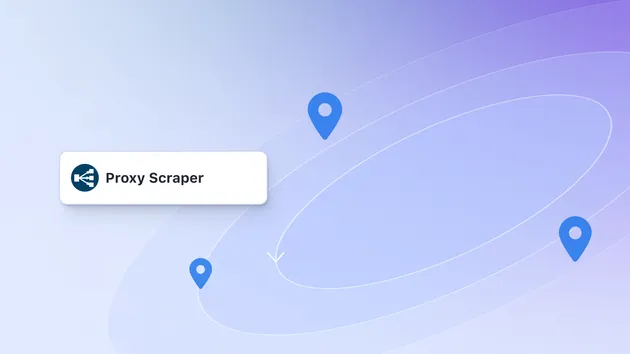
Ultimate Proxy Scraper
Pricing
$5.00/month + usage
Go to Apify Store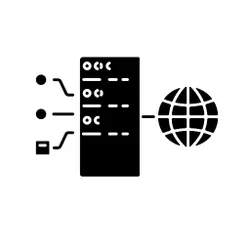

Ultimate Proxy Scraper
Scrape thousands of proxies from 30+ sources. Get free, fast, and premium HTTP, HTTPS, SOCKS4, and SOCKS5 proxies. Enjoy anonymous, elite, and premium proxies for various applications. Maximize browsing speed, security, and data privacy with ease.
Pricing
$5.00/month + usage
Rating
5.0
(9)
Developer
epctex
Maintained by CommunityActor stats
16
Bookmarked
1.2K
Total users
1
Monthly active users
16 hours ago
Last modified
Categories
Share