PGVector Integration
Pricing
Pay per usage
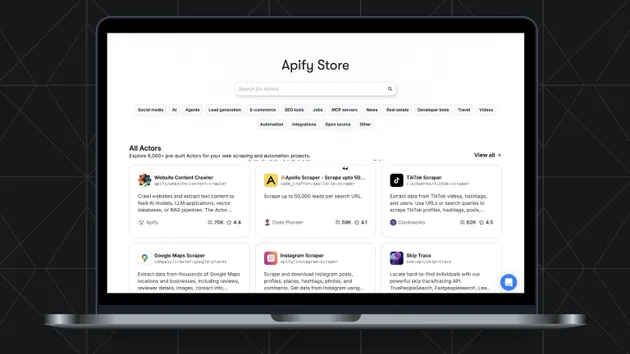
Go to Apify Store

PGVector Integration
This integration transfers data from Apify Actors to a Postgres SQL database (with PGVector extension).
Pricing
Pay per usage
Rating
4.6
(5)
Developer
Apify
Maintained by ApifyActor stats
5
Bookmarked
16
Total users
0
Monthly active users
a year ago
Last modified
Categories
Share