Pinecone Integration
Pricing
Pay per usage
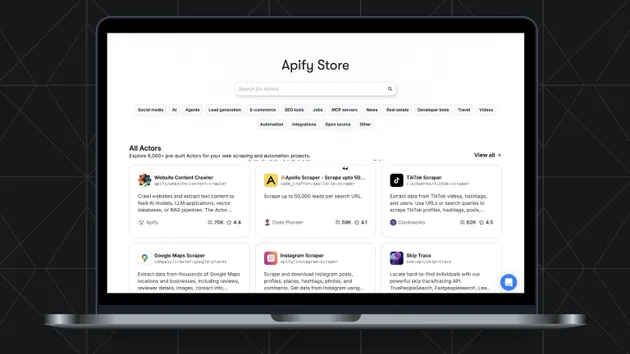
Go to Apify Store

Pinecone Integration
This integration transfers data from Apify Actors to a Pinecone and is a good starting point for a question-answering, search, or RAG use case.
Pricing
Pay per usage
Rating
3.2
(6)
Developer
Apify
Maintained by ApifyActor stats
39
Bookmarked
556
Total users
28
Monthly active users
4 months ago
Last modified
Categories
Share