Google Lens | AI Mode | Reverse image search | Translation+OCR
Pricing
Pay per event
Go to Apify Store

Google Lens | AI Mode | Reverse image search | Translation+OCR
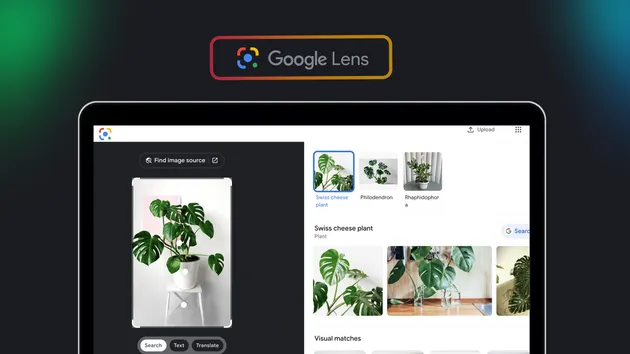
Google Lens | Reverse image search | AI Mode🌟 Seamlessly identify text, translate in real time 🌐, recognize and classify objects 🎁, reverse search images 🔍, and extract detailed structured data 📚. It’s fast, reliable, and affordable—your essential tool for all visual intelligence needs! 🚀
Pricing
Pay per event
Rating
3.9
(4)
Developer
borderline
Maintained by CommunityActor stats
10
Bookmarked
1.4K
Total users
131
Monthly active users
0.11 hours
Issues response
14 days ago
Last modified
Categories
Share