REPL
Pricing
Pay per usage
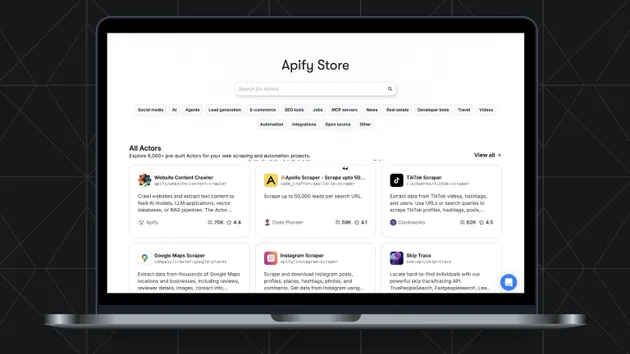
Go to Apify Store

REPL
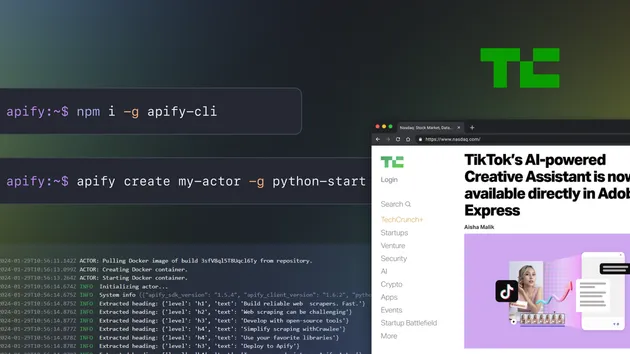
Develop scripts and tools blazingly fast with this Apify REPL. You no longer need to build your actor with every code change just to test something out. Create a REPL task and hack away. No builds needed. Latest Apify included.
Pricing
Pay per usage
Rating
0.0
(0)
Developer
Ondra Urban
Maintained by CommunityActor stats
2
Bookmarked
15
Total users
0
Monthly active users
3 years ago
Last modified
Categories
Share