Actor Build Starter
No credit card required
Actor Build Starter
No credit card required
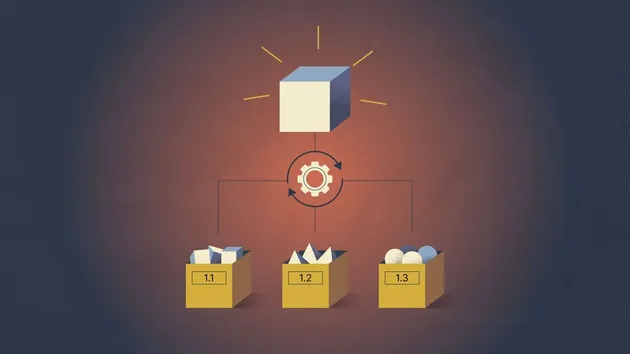
Run builds for multiple actors in your account simultaneously. This can be useful when many actors in a given project have been updated. For example, the documentation might have been updated in 50 actors. This tool will help you trigger actor builds for all 50 at once.
Actor Metrics
1 monthly user
No reviews yet
2 bookmarks
>99% runs succeeded
Created in Oct 2021
Modified 2 years ago
You can access the Actor Build Starter programmatically from your own applications by using the Apify API. You can also choose the language preference from below. To use the Apify API, you’ll need an Apify account and your API token, found in Integrations settings in Apify Console.
1# Start Server-Sent Events (SSE) session and keep it running
2curl "https://actors-mcp-server.apify.actor/sse?token=<YOUR_API_TOKEN>&actors=fjvs0283/actor-batch-builder"
3
4# Session id example output:
5# event: endpoint
6# data: /message?sessionId=9d820491-38d4-4c7d-bb6a-3b7dc542f1fa
Using Actor Build Starter via Model Context Protocol (MCP) server
MCP server lets you use Actor Build Starter within your AI workflows. Send API requests to trigger actions and receive real-time results. Take the received sessionId
and use it to communicate with the MCP server. The message starts the Actor Build Starter Actor with the provided input.
1curl -X POST "https://actors-mcp-server.apify.actor/message?token=<YOUR_API_TOKEN>&session_id=<SESSION_ID>" -H "Content-Type: application/json" -d '{
2 "jsonrpc": "2.0",
3 "id": 1,
4 "method": "tools/call",
5 "params": {
6 "arguments": {
7 "actorNameContains": "my-awesome",
8 "actorIds": [
9 "abc123",
10 "abc123"
11 ]
12},
13 "name": "fjvs0283/actor-batch-builder"
14 }
15}'
The response should be: Accepted
. You should received response via SSE (JSON) as:
1event: message
2data: {
3 "result": {
4 "content": [
5 {
6 "type": "text",
7 "text": "ACTOR_RESPONSE"
8 }
9 ]
10 }
11}
Configure local MCP Server via standard input/output for Actor Build Starter
You can connect to the MCP Server using clients like ClaudeDesktop and LibreChat or build your own. The server can run both locally and remotely, giving you full flexibility. Set up the server in the client configuration as follows:
1{
2 "mcpServers": {
3 "actors-mcp-server": {
4 "command": "npx",
5 "args": [
6 "-y",
7 "@apify/actors-mcp-server",
8 "--actors",
9 "fjvs0283/actor-batch-builder"
10 ],
11 "env": {
12 "APIFY_TOKEN": "<YOUR_API_TOKEN>"
13 }
14 }
15 }
16}
You can further access the MCP client through the Tester MCP Client, a chat user interface to interact with the server.
To get started, check out the documentation and example clients. If you are interested in learning more about our MCP server, check out our blog post.