Screenshot Taker
Pricing
Pay per usage
Go to Apify Store

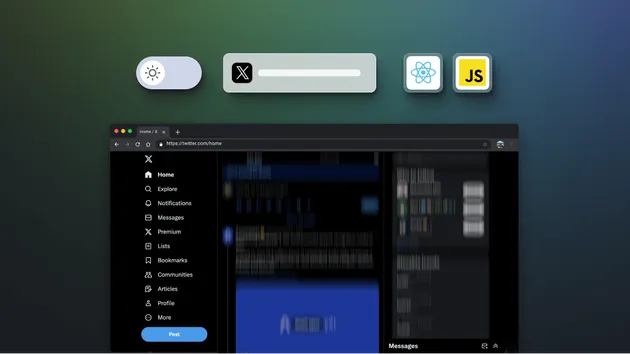
Screenshot Taker
Takes a screenshot of one or more web pages using the Chrome browser. The actor enables the setting of custom viewport size, page load timeout, delay, proxies, and output image format.
Pricing
Pay per usage
Rating
0.0
(0)
Developer
Jan Čurn
Maintained by CommunityActor stats
21
Bookmarked
825
Total users
5
Monthly active users
5 years ago
Last modified
Categories
Share