Flow AI Agent
Pricing
Pay per event + usage
Go to Apify Store

Flow AI Agent
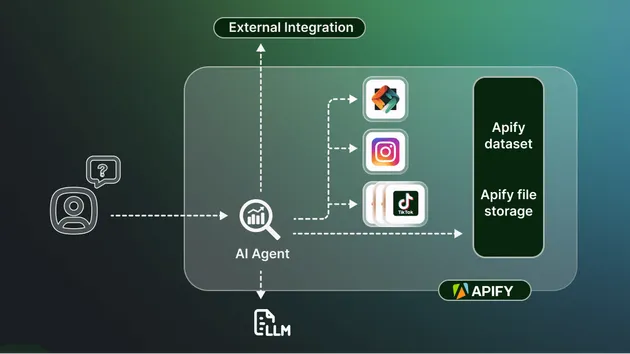
Flow AI is a platform for building, deploying, and monetizing AI agents tailored for the Web3 ecosystem and their community. It enables users to gather insights from onchain and offchain data and run complex transactions.
Pricing
Pay per event + usage
Rating
5.0
(4)
Developer
Flow AI
Maintained by CommunityActor stats
2
Bookmarked
16
Total users
1
Monthly active users
a year ago
Last modified
Categories
Share
Flow AI Agents
Flow AI is a platform for building, deploying, and monetizing AI agents tailored for the Web3 ecosystem and their community. It enables users to gather insights from onchain and offchain data and run complex transactions.
✨ Features
- AI Agent Marketplace: Build and trade AI agents that can interact with various data sources and perform tasks.
- Custom Dashboards: Create dashboards with rich insights to streamline team alignment and processes.
- Data Integration: Integrate with a wide range of on-chain and off-chain Web3 datasets and tools.
- Contract Analysis Reports: Discover information about contract funders, their balances, and more.
- Community Engagement: Enhance onboarding and education for communities through automated reporting and shared insights.